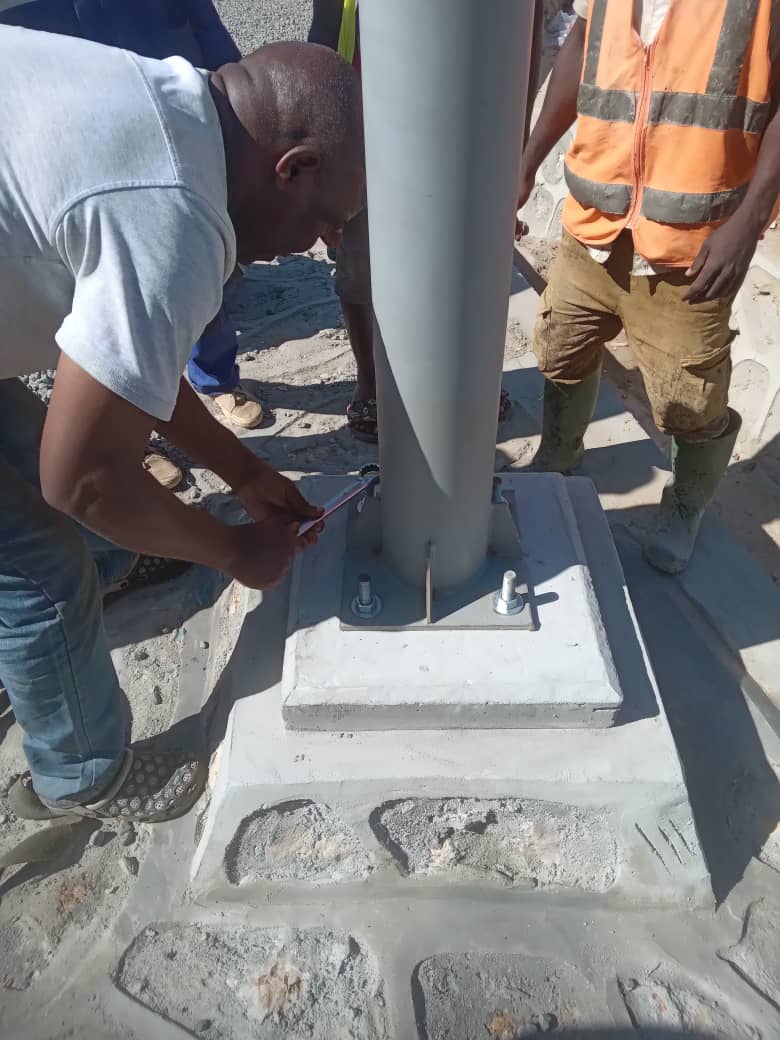
If you have recently installed solar street lights, then there will be a few tips to help you check that they are in place.
- Make sure that the solar panel receives direct sunlight and is not blocked by any objects.
- Check that the batteries are properly charged and connected to the solar panel.
- Test the light by turning it on and verifying that it lights up.
- Check that the light turns off and on according to the settings you have configured.
Wait a minute or so for the controller of the street light and the load comes on, indicating normal discharge. The panel is then connected and the controller detects that the panel is connected. If the lighting conditions are met, the controller will instruct the panel to connect and then switch off the load and start charging. This means that the whole system is installed.

There are also 2 tips for the installation process.
- Wrapping the wires can prevent touching the wires to avoid damage to the controller. When installing solar street lights, you should pay attention to the installation of the wires, avoid wire clutter, ensure that the wires are firmly connected, and wrap the wires to prevent touching them, thus protecting the safety of the controller.
- Try to work during the daytime can ensure that the solar street light can be charged immediately after the installation is completed. Solar street lights rely on solar panels to convert solar energy into electricity, which is stored in the batteries. If the batteries can be recharged immediately after the construction is completed, this will ensure that the batteries are fully charged, thus ensuring that the solar street light can work properly. In addition, working in daylight also ensures a clear view and makes it easy to check whether the panels are in place.
These useful tips can help you to better avoid some problems when installing street lights. If you want to learn more about solar lamps and lanterns, keep following us!