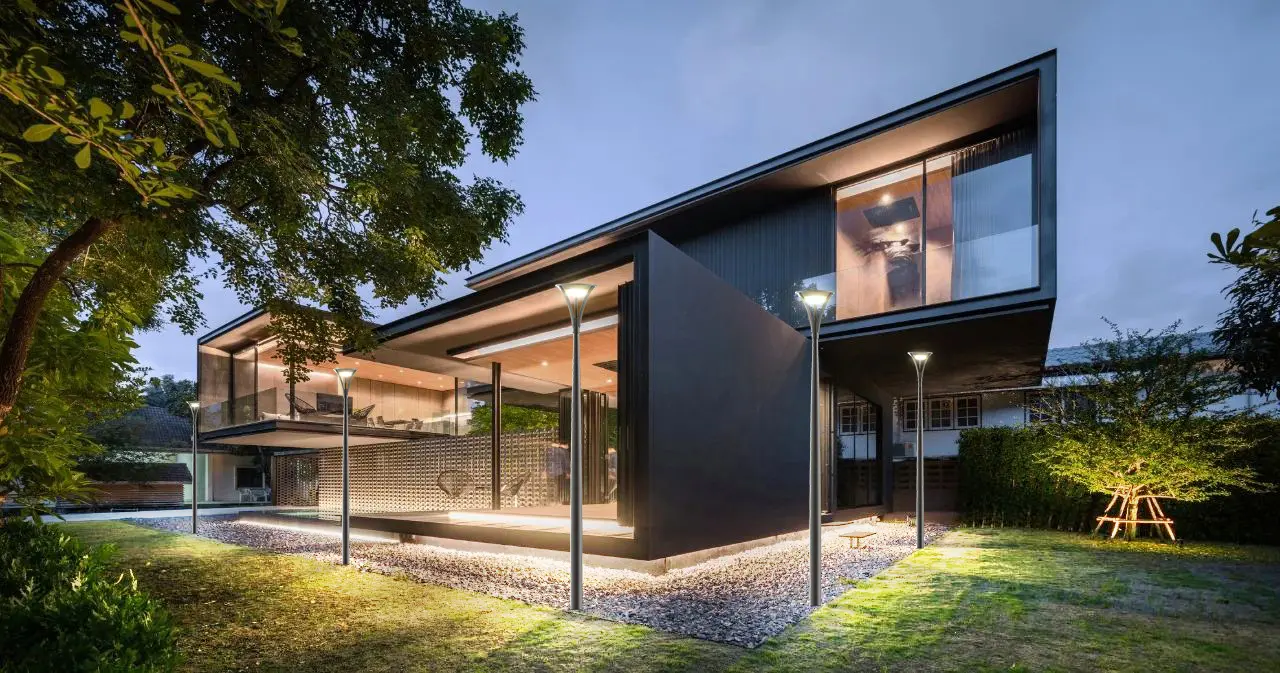
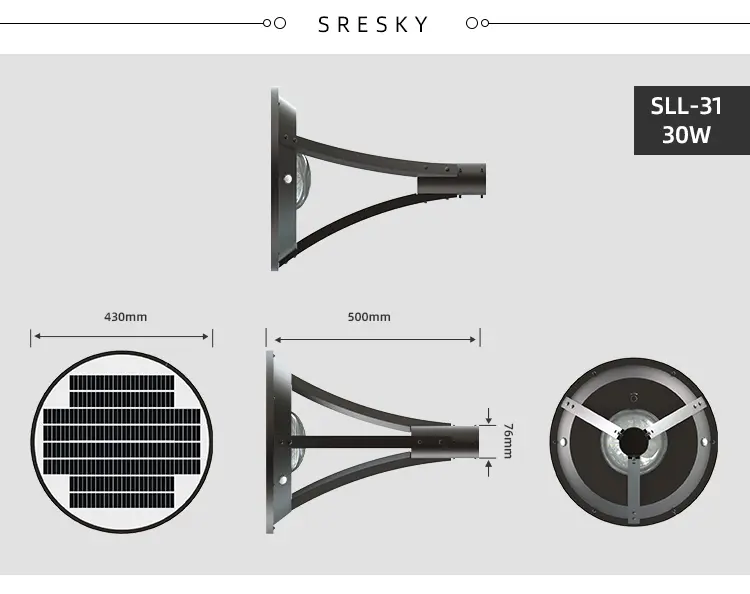
Learn how to install Sresky solar garden lights (SLL-31) in just 30 minutes with this detailed step-by-step guide. Enjoy green energy while lighting up your yard with style and efficiency.
 The Sresky Solar Garden Light (model SLL-31) is the ideal choice for modern garden lighting. Easy to install in half an hour, it suits various patio layouts and requires no special skills. As an environmentally friendly and efficient lighting solution, it enhances your patio’s elegance while providing reliable nighttime illumination.
Preparation
- Tools and Items Needed
Ensure you have the following tools ready:- Screwdriver: For securing the light fixture.
- Wrench: For tightening bracket and pole screws.
- Level (Optional): To ensure the pole is mounted vertically for optimal performance.
- Included Accessories: Screws, brackets, and an installation guide provided in the package.
- Unpacking and Inspection
Check the package for the following items:- SLL-31 solar garden light
- Fixing bracket
- Mounting screws
- User manual
Ensure all parts are intact. If anything is missing, contact your supplier or the after-sales service team immediately.
- Understanding the Product
- 360° Lighting: Covers a wide area, perfect for patios and driveways.
- IP65 Waterproof Rating: Withstands various weather conditions like rain and snow.
- Intelligent Lighting Modes: Three energy-saving options to suit different scenarios.
- Advanced Technology: ALS (Adaptive Light Sensing Technology) and TCS (Temperature Control for Battery) enhance battery performance in extreme environments.
- Safety Precautions
- Avoid blocking the solar panel to ensure efficient charging.
- Check that the power indicator is green (≥70%) before installation.
- Turn off the power during installation for safe operation.
Installation Steps
- Select the Installation Location
- Choose a sunny area to maximize the solar panel’s charging efficiency.
- Ideal Spot: Open areas with no shade from trees or buildings.
- Solar Panel Orientation: Face the panel southward (in the northern hemisphere).
- Ensure the ground is smooth and free from obstacles that may interfere with the sensing function.
- Prepare the Mounting Base (Optional)
For ground-mounted poles, follow these steps:- Excavate the Foundation: Dig a hole approximately 30×30 cm and 50 cm deep.
- Place the Foundation Cage: Ensure it is level at the top.
- Fill with Concrete: Use C20 concrete to secure the cage, allowing it to dry completely (~24 hours).
- Tip: Skip this step for light poles mounted on hardened surfaces or walls.
- Install the Fixing Bracket and Luminaire
- Attach the luminaire to the bracket using the provided screws.
- Ensure the bracket is secure and properly aligned.
- Confirm that the luminaire and solar panel are correctly oriented to avoid adjustment issues later.
- Mount the Luminaire on the Pole
- Align the bracket with the top of the pole and match the screw holes.
- Tighten the screws securely using a wrench.
- Check the pole’s stability with a spirit level and adjust as needed.
- Tip: For wall-mounted installations, use the provided wall bracket and follow the manual.
- Adjust the Solar Panel Angle
- Position the solar panel to face direct sunlight.
- Set the tilt angle between 30°-45°, based on your region’s latitude, for optimal charging.
- Turn on the Power and Set the Mode
- Turn on the device by pressing and holding the power button for 1.5 seconds.
- Select the desired mode:
- M1 Mode: 15% constant + sensed 100% brightness for 30 seconds.
- M2 Mode: 30% brightness for the first 5 hours + 15% sensed brightness.
- M3 Mode: 35% brightness all night until dawn.
- Mode indicators: red (M1), green (M2), orange (M3).
- Test the functionality, ensuring the sensor and brightness settings meet your requirements.
- Tip: Use M1 mode initially to save power.
Troubleshooting
- Lamp Does Not Light Up
- Ensure the solar panel is clean and receives sufficient sunlight.
- Verify the power indicator is green (≥70%).
- Sensing Function Malfunction
- Confirm the installation height is within the recommended range (<3 meters).
- Ensure no obstructions block the sensor, such as branches or walls.
- Unstable Installation
- Check and tighten all screws.
Maintenance Tips
- Regular Cleaning: Wipe the solar panel monthly with a damp cloth to remove dirt and dust.
- Check Components: Inspect screws and brackets for stability and reinforce if necessary.
- Seasonal Adjustments:
- Clear snow from panels in winter.
- Avoid prolonged exposure to extreme heat in summer.
Benefits of Sresky Solar Garden Lights
- Environmentally Friendly: 100% solar-powered, reducing electricity consumption.
- Durable Design: Made with aluminum alloy and IP65 waterproof technology to withstand harsh weather.
- Intelligent Lighting Modes: Offers flexible options for various user needs.
- Quick Installation: Complete setup within 30 minutes without requiring professional tools or expertise.
Frequently Asked Questions
- Q: Where can Sresky solar garden lights be installed?
A: They are suitable for yards, gardens, driveways, parking lots, and other outdoor spaces. - Q: How do I switch lighting modes?
A: Press the power button. Mode indicators are red (M1), green (M2), and orange (M3). - Q: How long can the lamp last on a full charge?
A: It can operate for more than five cloudy or rainy days when fully charged. - Q: Can the luminaire work in low temperatures?
A: Yes, thanks to TCS technology, it operates normally between -10°C and 60°C. - Q: How do I check battery status?
A: The power indicator shows:- Green (≥70%)
- Orange (30%-70%)
- Red (<30%).
Installing Sresky solar garden lights is a quick and straightforward process. In just five simple steps, you can elevate your outdoor space with efficient, eco-friendly lighting. Whether for a home patio or commercial venue, this innovative lighting solution meets all your needs. Get started today and brighten your yard with Sresky!
